Welcome to Orders of Magnetude
Key Holder tutorial
This tutorial shows how to make a basic, stained, key holder that hangs keys by the front door using magnets instead of hooks. Large key sets will require a greater number of magnets. Also, the geometry and composition of some key fobs makes them less than ideal for this project. If your fob is bulky, plastic and heavy, and there is a small amount of steel on your key chain, magnetic attachment may be awkward or expensive. This problem can, however, almost always be overcome by adding a washer to your key ring.
Materials Needed
- Wood – approximately 3″ x 1″ x 8″
- Screw driver and/or drill
- A forstner bit of appropriate size
- Wood glue
- Wood stain (your colour choice)
- Wall screws
- Safty goggles
- A pencil
- A straightedge
- A tape measure
- Magnets
Step 1
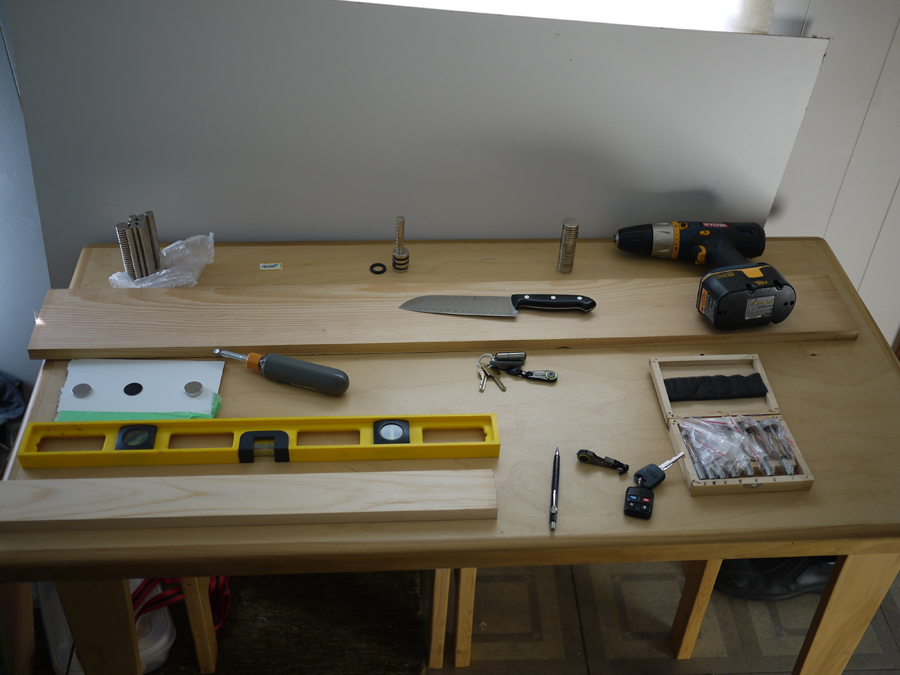
A work surface of adequate size is preferred. Assemble materials there.
Step 2

Measure and mark the wood in preparation for cutting it to the desired dimensions. Here, the wood is marked to be cut to 8″.
Step 3

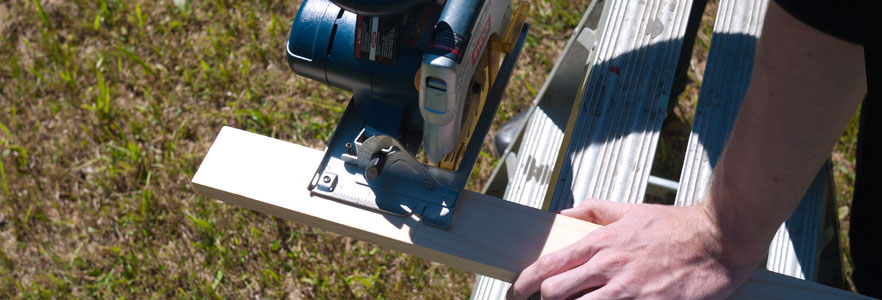
Cut the wood to the appropriate size. Wear safety goggles.
Step 4
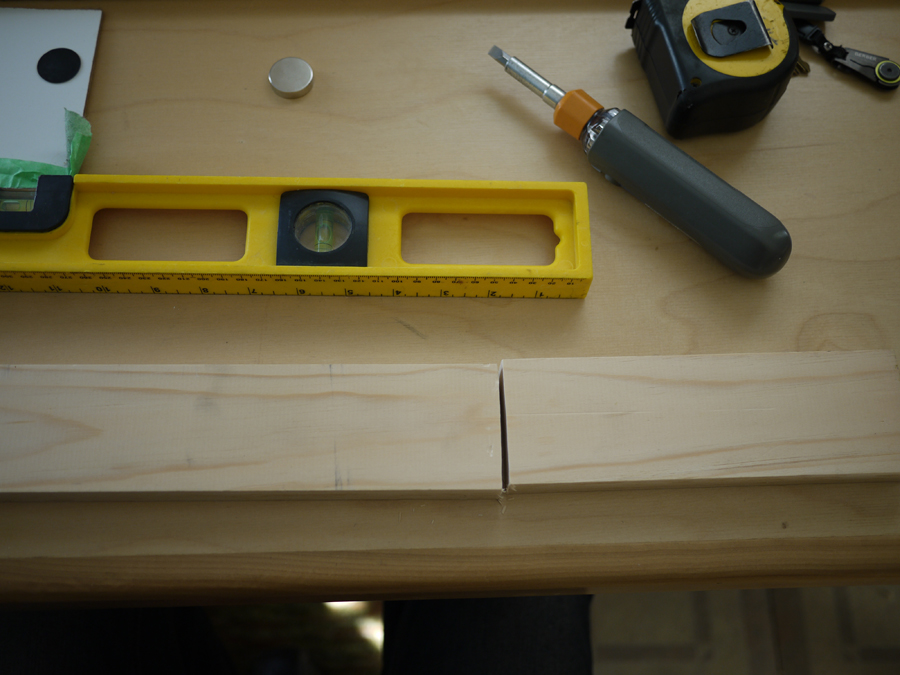
Further proof of the wood having been cut.
Step 5
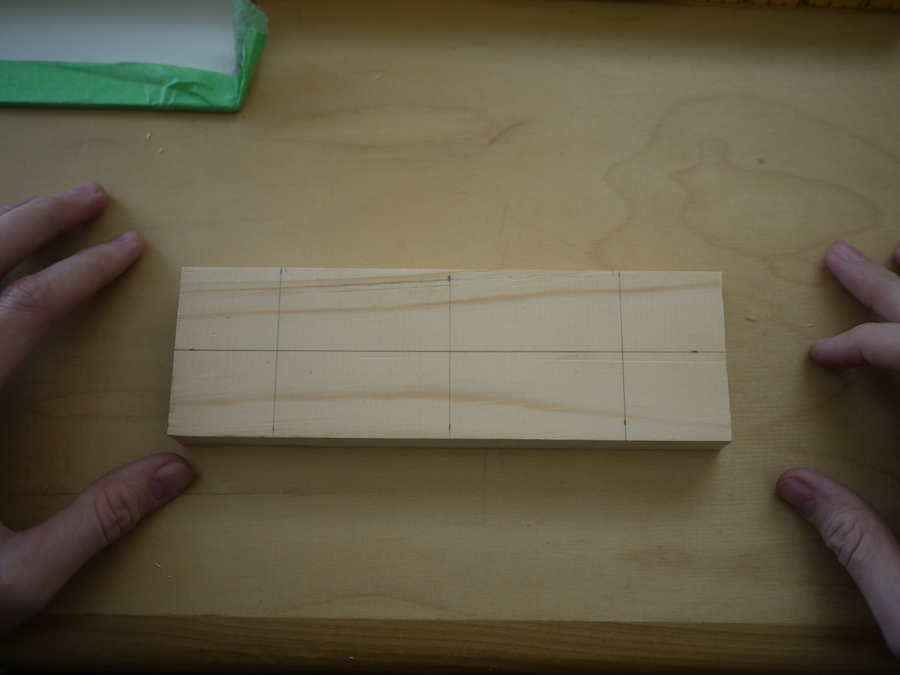
Mark the wood in preparation for drilling the desired number of holes for the desired number of magnets. In this case three centers are marked.
Step 6
Start the first hole, ideally using a drill press, but in most cases of small holes being drilled, a had drill will do.
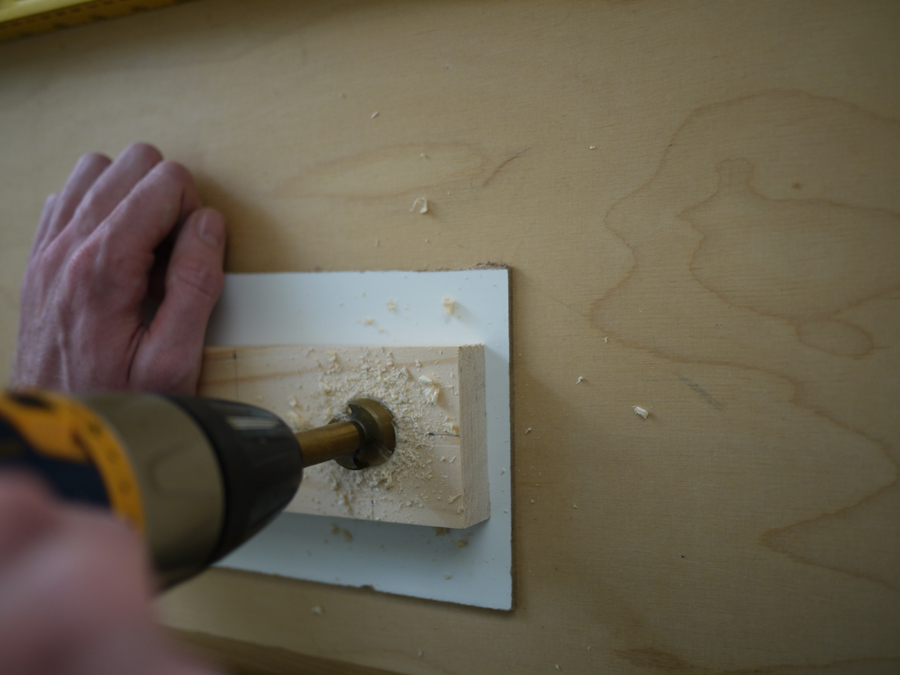
Step 7
Progress in the process of drilling the hole. Chips must be cleared periodically when using forstner bits.
Step 8
It is desirable to drill as far as possible through the wood without going all the way through, in order to minimise the number of magnets necessary for fastening a set of keys. To do this, regularly check how close you have gotten by using a strong light on the side opposite the hole. When you get to the correct depth, the lowest point the bit has drilled will iluminate as shown.
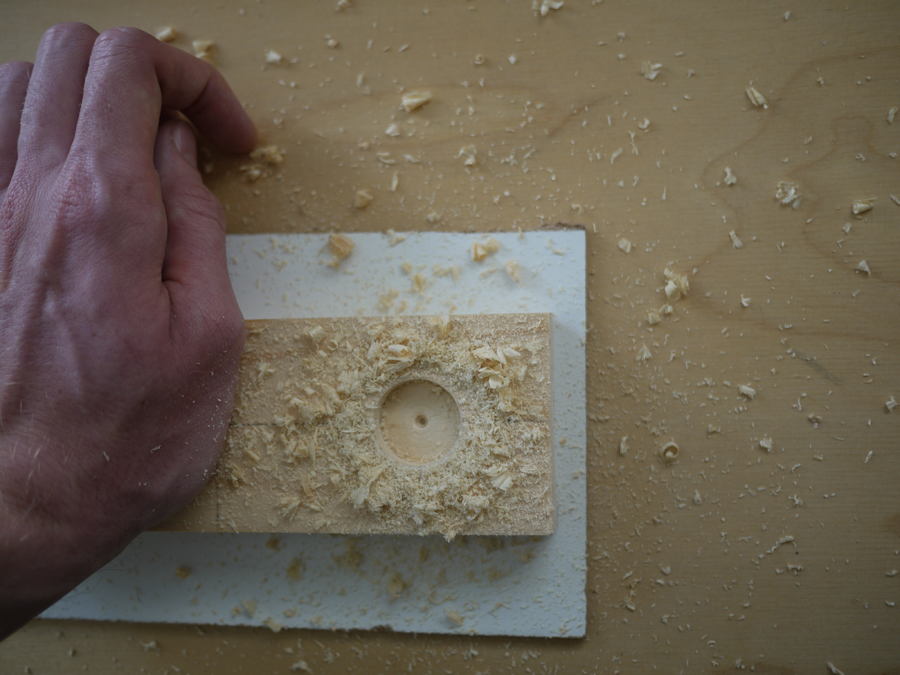
Step 9
Drill all three holes to the proper depth.
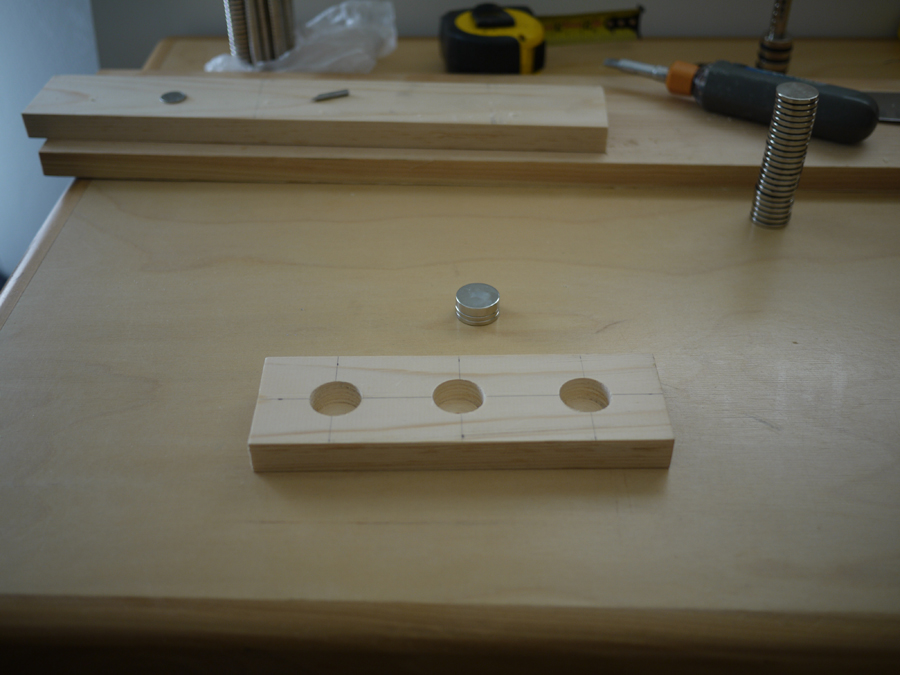
Step 10

Glued the magnets into place with epoxy (most other glues will work if epoxy is unavailable).
Step 11 – Optional
An alternative to buying a series of strong magnets and drilling close to the opposite face is to drill the whole way through and use a durable veneer to cover the holes. This method is less finicky and requires fewer magnets, as forstner bits have a point that prevents them from drilling truly flat-bottomed holes. In our tests the drilling method required at least two 1″ x 1/8″ disc magnets, and ideally 3 for each hole drilled. The veneer method required only one 1″ x 1/8″ magnet (although, the thicker the veneer, the larger the number of magnets required to hold a normal set of keys).
Step 12

The wood is stained and the holder is secured to the wall with permanent mounting tape. It could also be mounted using screws.
Final Notes
You can be much more imaginative than this when building your key holder. Rounded edges are a start. Maybe inlay if you’re adventurous.