Welcome to Orders of Magnetude
Knife Block tutorial
Making a knife block such as the one in this tutorial is an involved and rewarding process. Once the many variables such as dimensions, design, and finish are settled on, the process of creating the block should go smoothly, and the final product will be an attractive and intriguing addition to your kitchen.
Materials Needed
- Wood – dimensions dependent on the final dimensions of the knife block. ~6″ x 30″ x 1″
- Measuring tape
- Straightedge
- Pencil
- Drill
- 1″ diameter drill bit
- Veneer – enough to cover the faces of the knife block
- Finishing nails
- Wood glue
- Stain (your colour choice)
- Saw – hand, circular or table
- Eight 1″ x 1/8″ disc magnets
- Safty Goggles
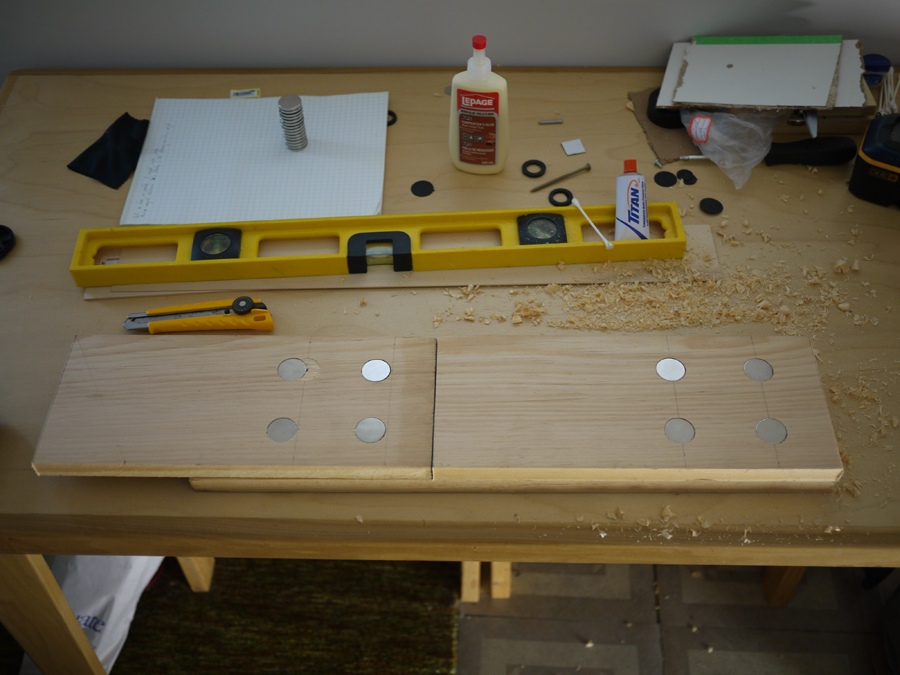
Step 1
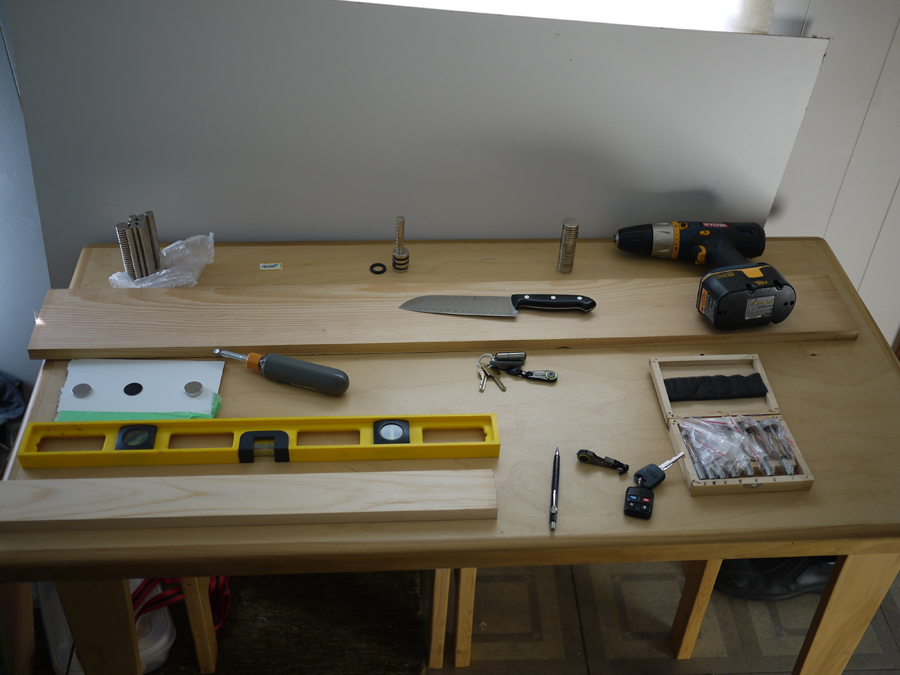
Assemble your materials and tools in a suitable work space.
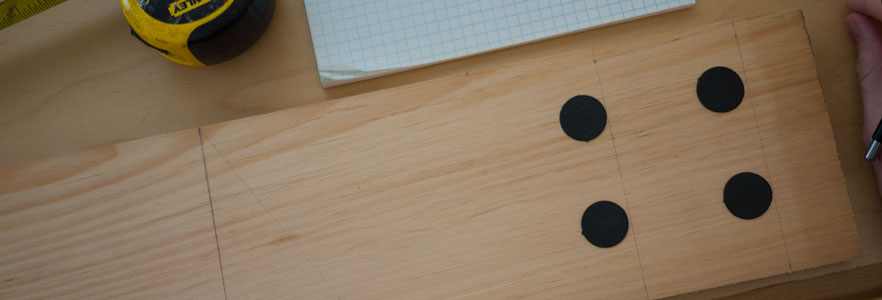
Step 2
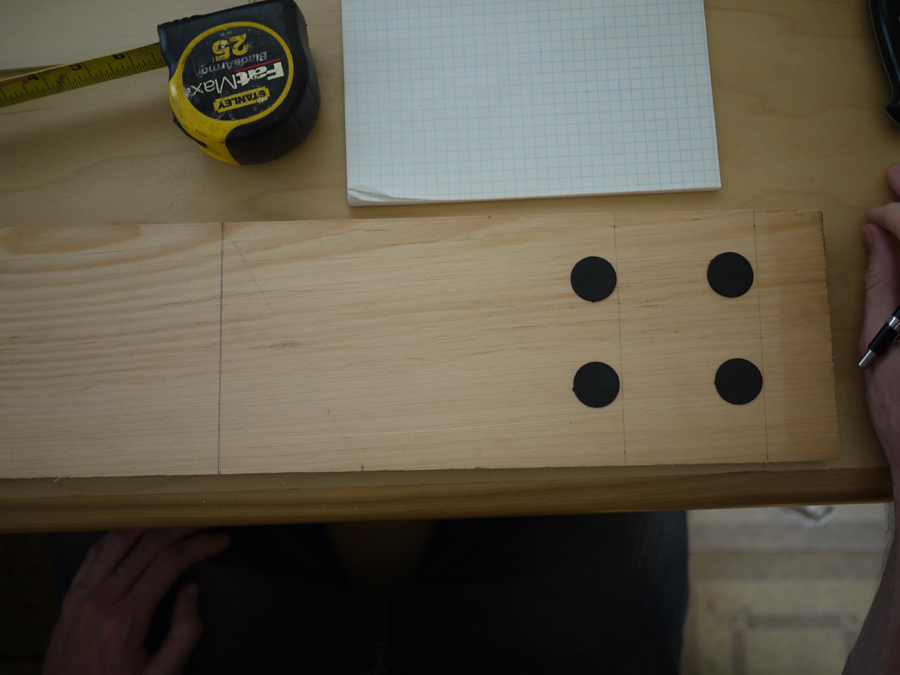
Use magnet substitutes (quarters will work) to approximate a good layout and spacing of the knives.
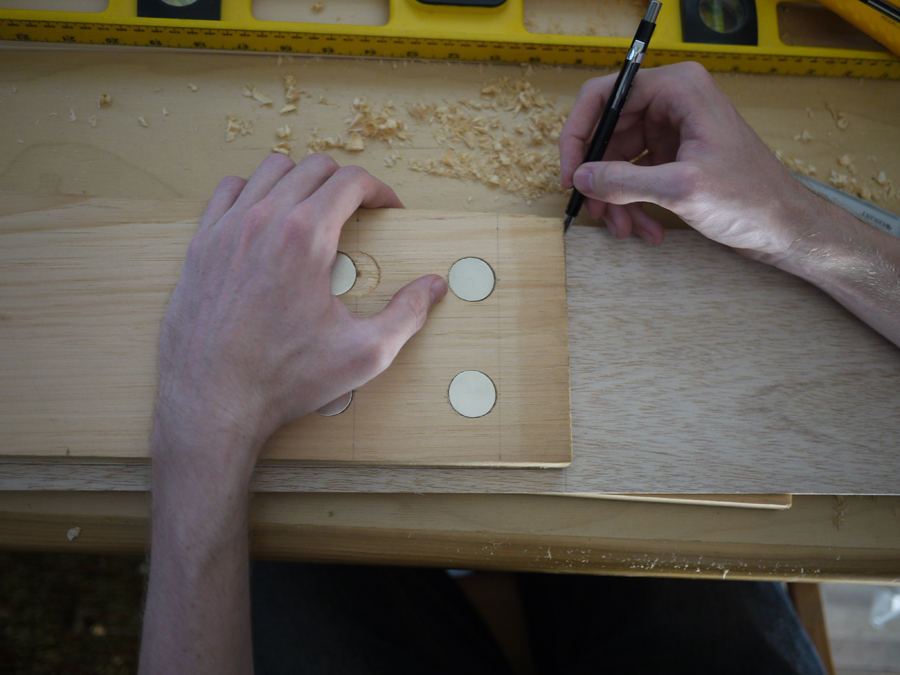
Step 3
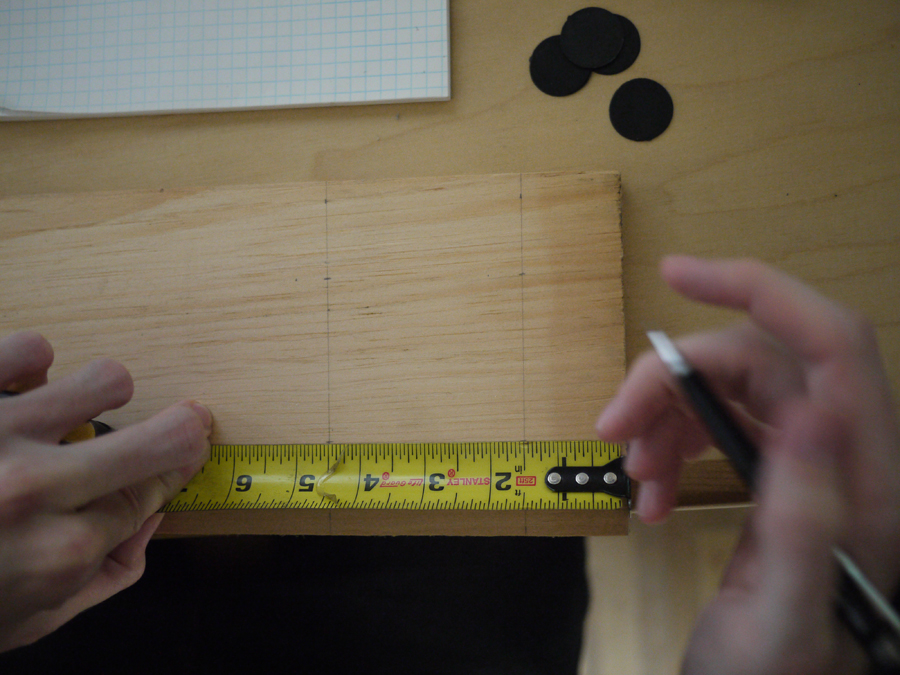
Set your approximation in stone by marking out the placement of the magnet holes with a pencil, measuring tape and a straightedge if necessary.
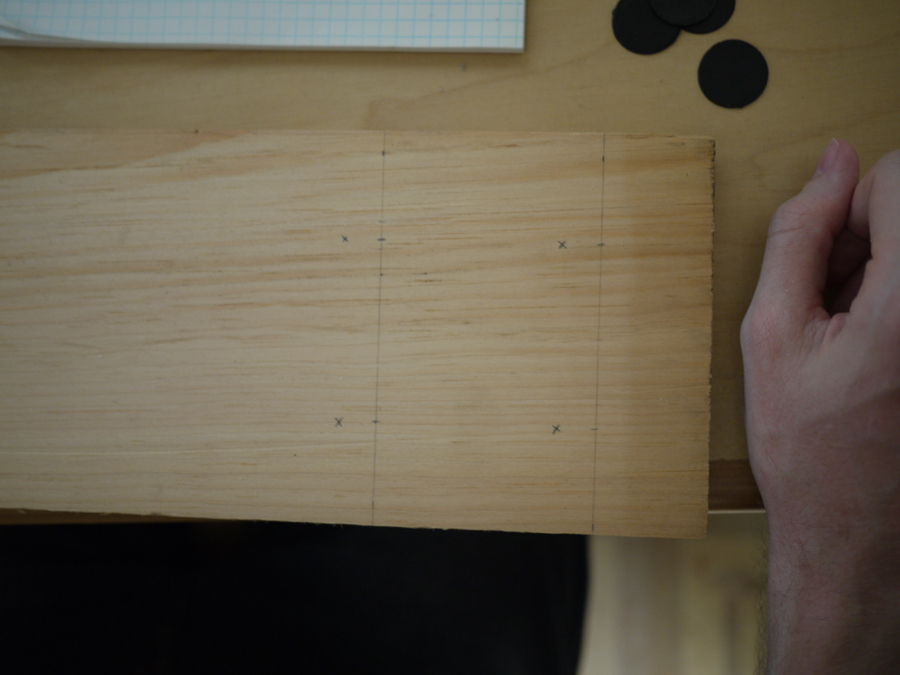
The drill centers are now marked.
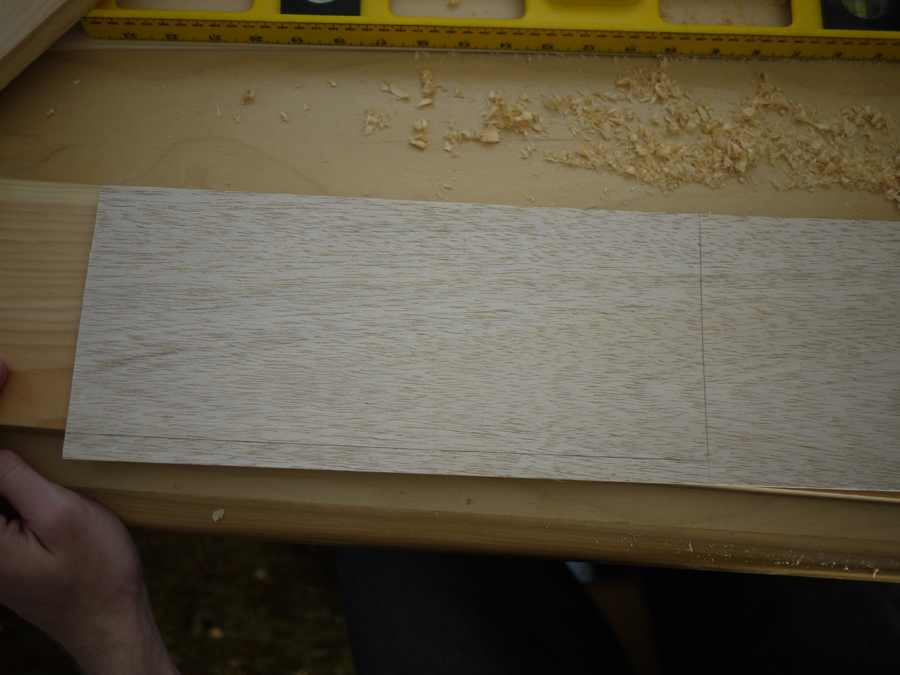
Step 4
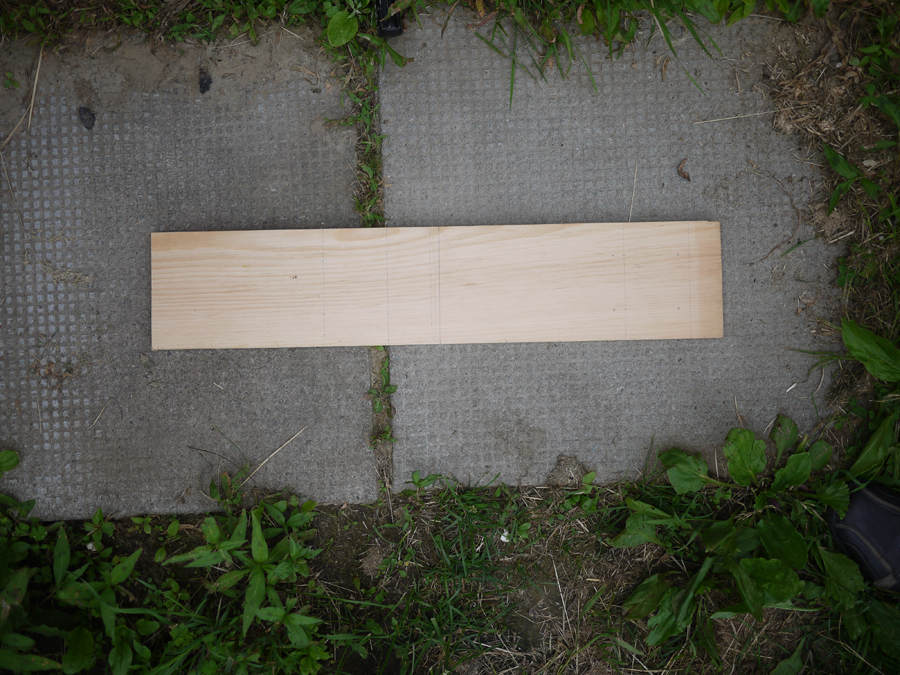
After deciding on the size desired, cut the board to size, taking into account the angle of the final block and the support wedge.
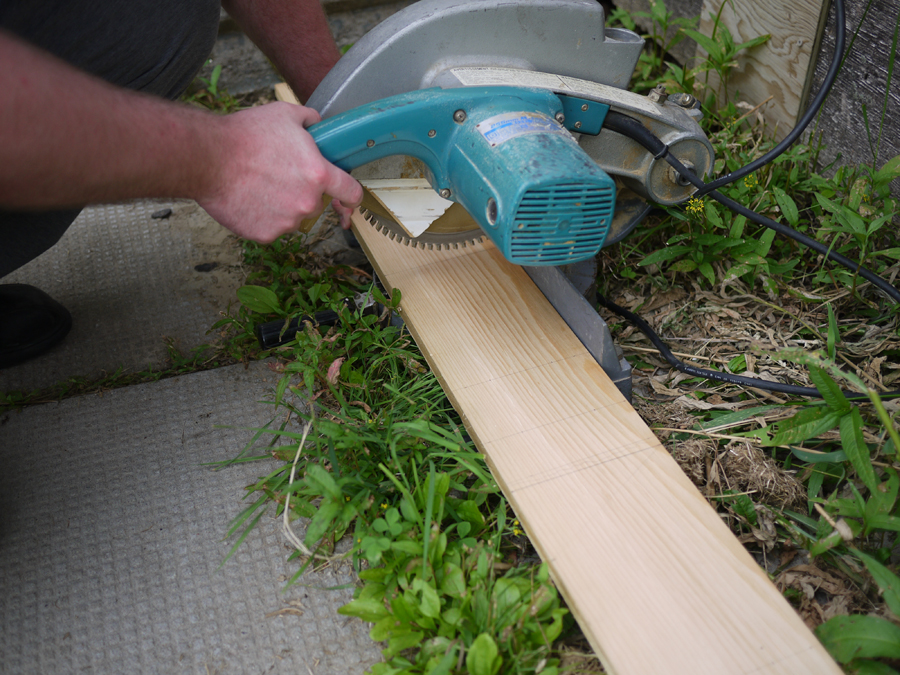
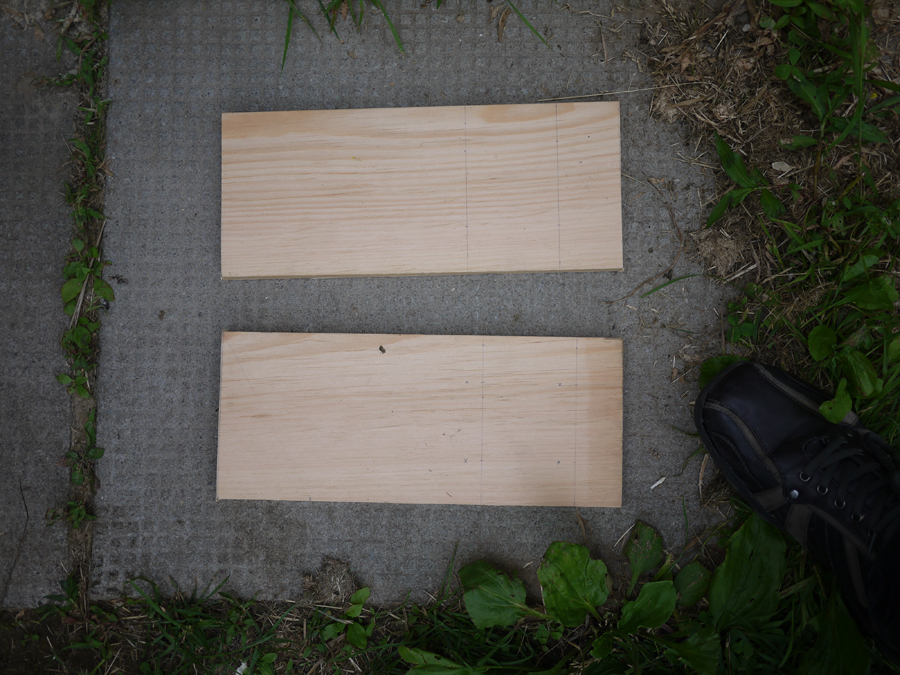
The final product: two properly dimensioned boards.
Step 5
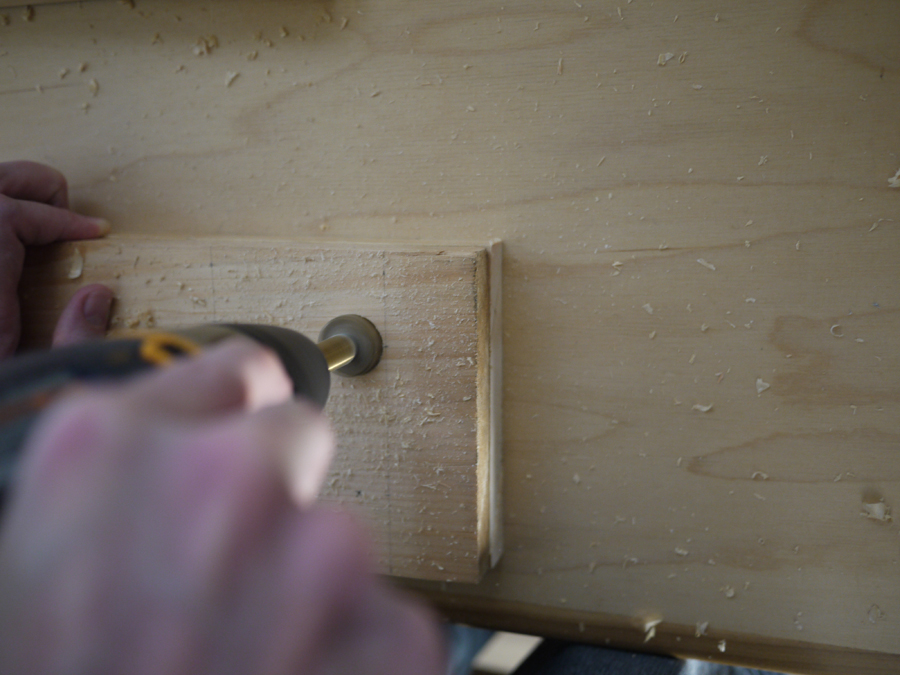
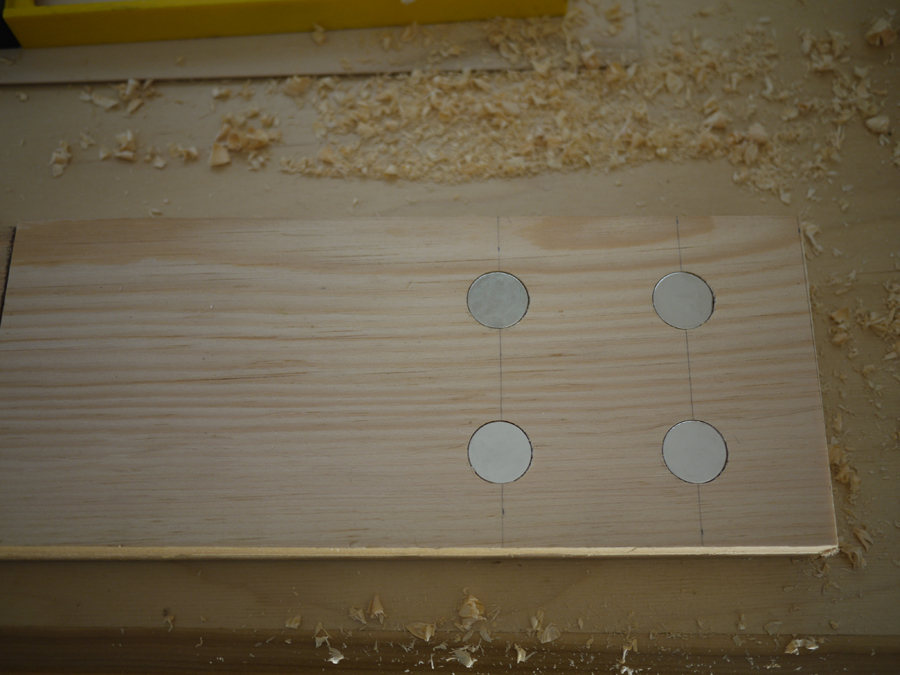
Drill the magnet holes to a depth as close to the exact thickness of the magnets being used.
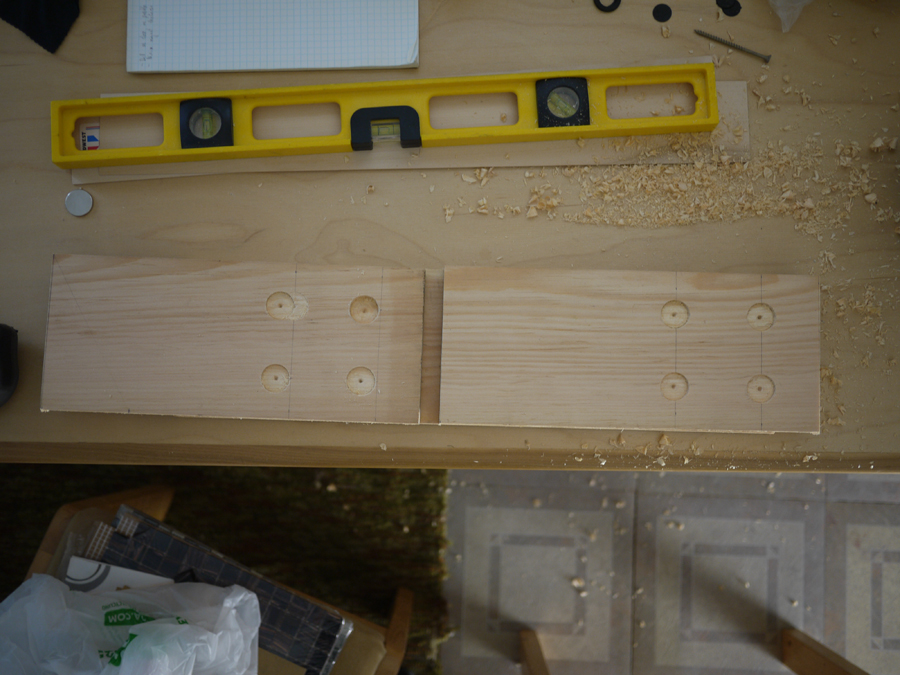
The finished magnet holes.
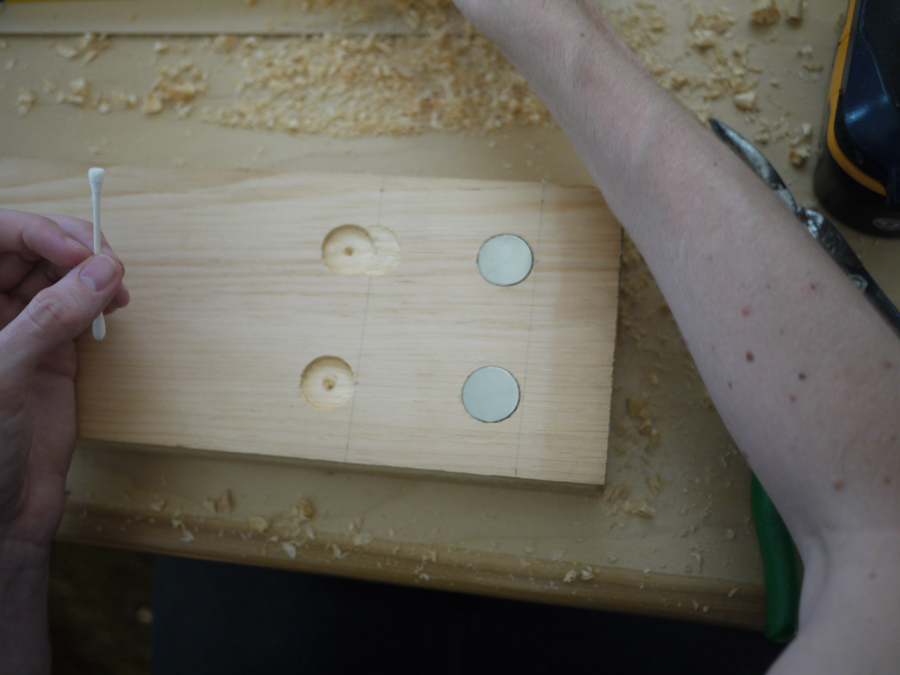
Step 6
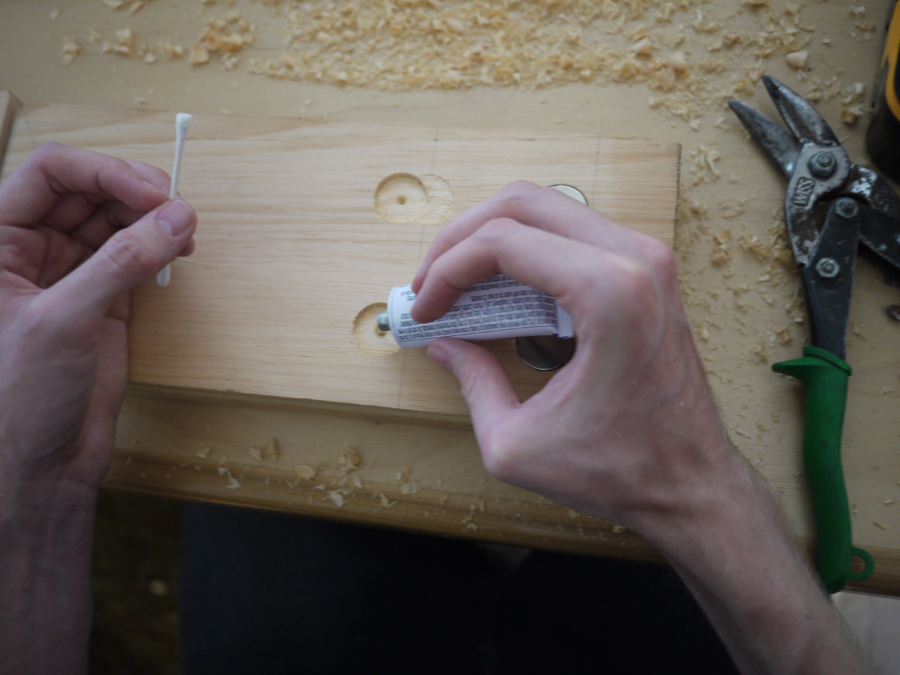
Glue the magnets into the holes using, ideally, an epoxy.
Step 7
Trace the veneer using the wood planks.