Welcome to Orders of Magnetude
Knife Block tutorial part two
Step 8
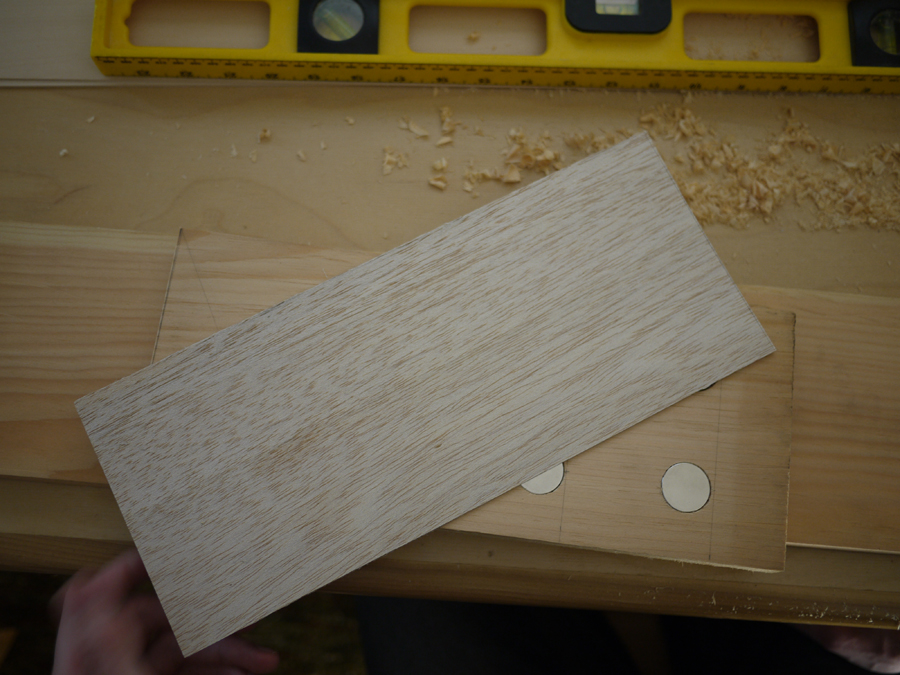
Cut out each of the veneers.
Step 9
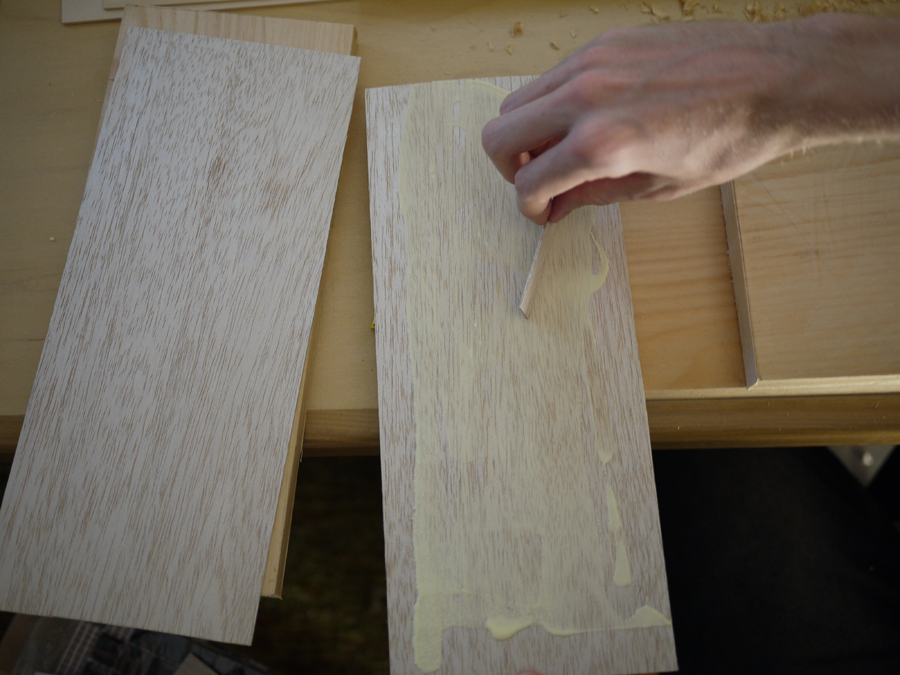
Spread wood glue on one side of one veneer, as well as on one of the the sides of the planks with magnets showing.
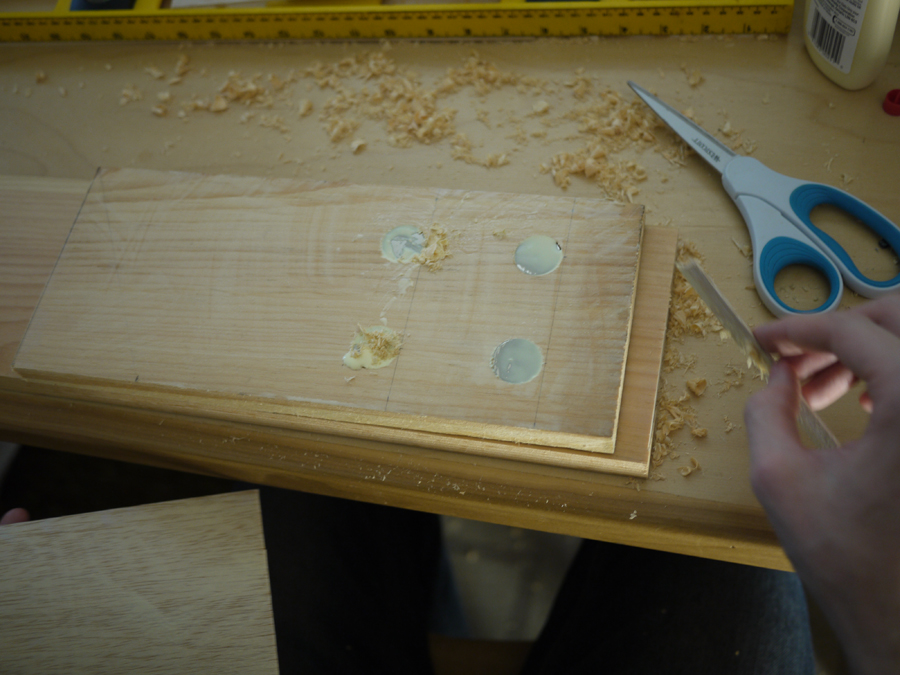
If you feel it necessary, fill any potential gaps between the magnets and the wood with wood shavings, to eliminate any possibility of magnet movement in the future.
Step 10
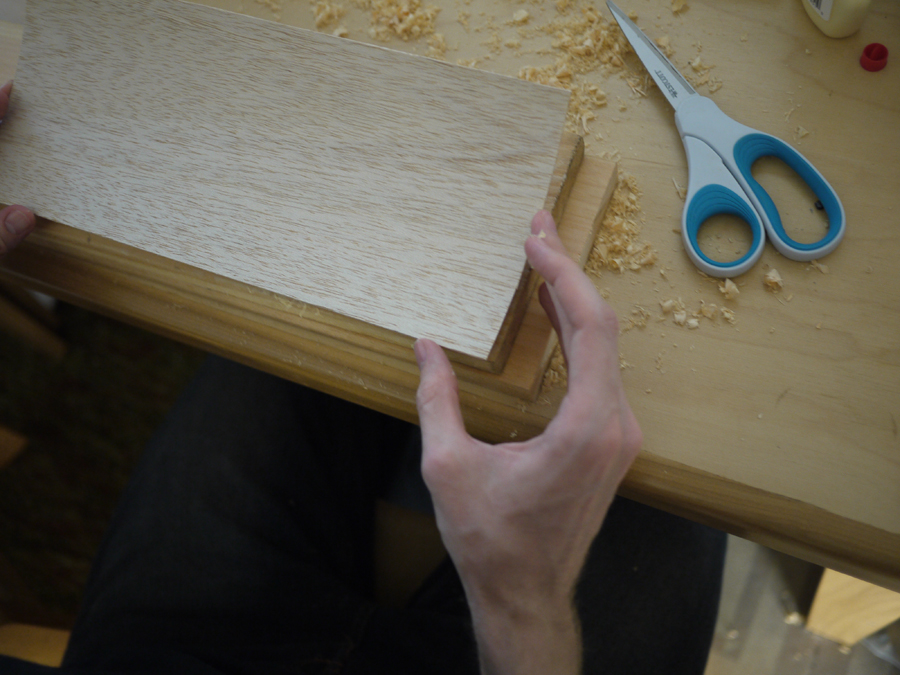
Press the veneer onto its corresponding piece of wood.
Step 11
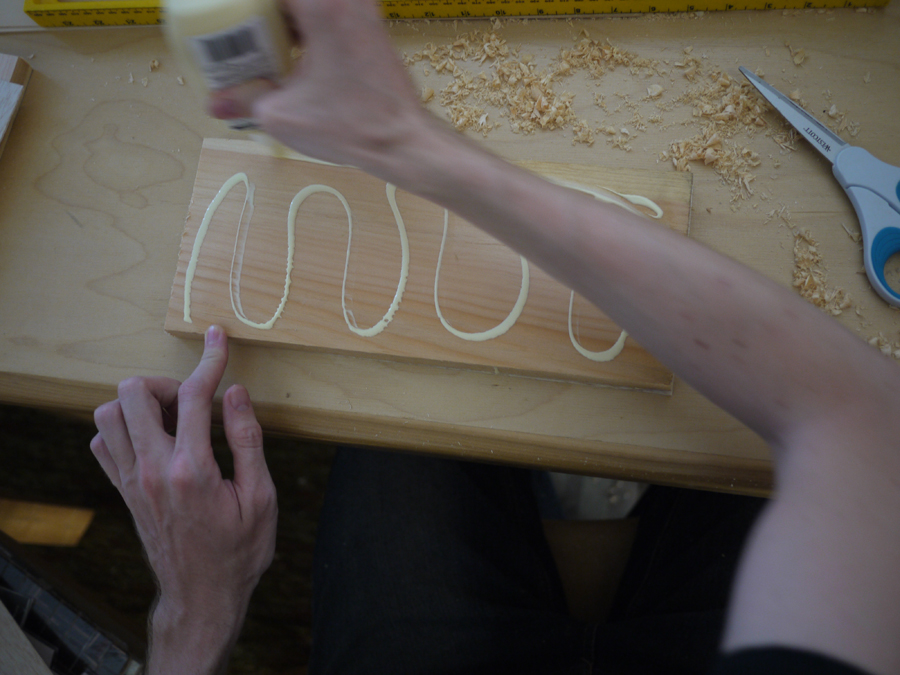
Glue the two planks together, leaving the unglued, magnet-exposed side facing outward.
Step 12
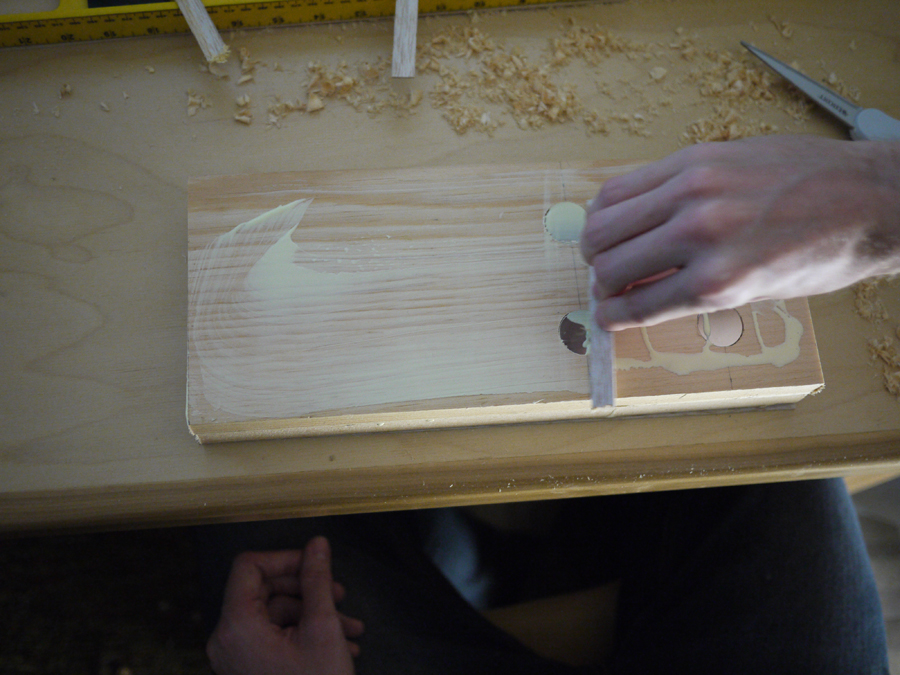
Glue the final piece of veneer to the remaining exposed face of the plank and veneer sandwich.
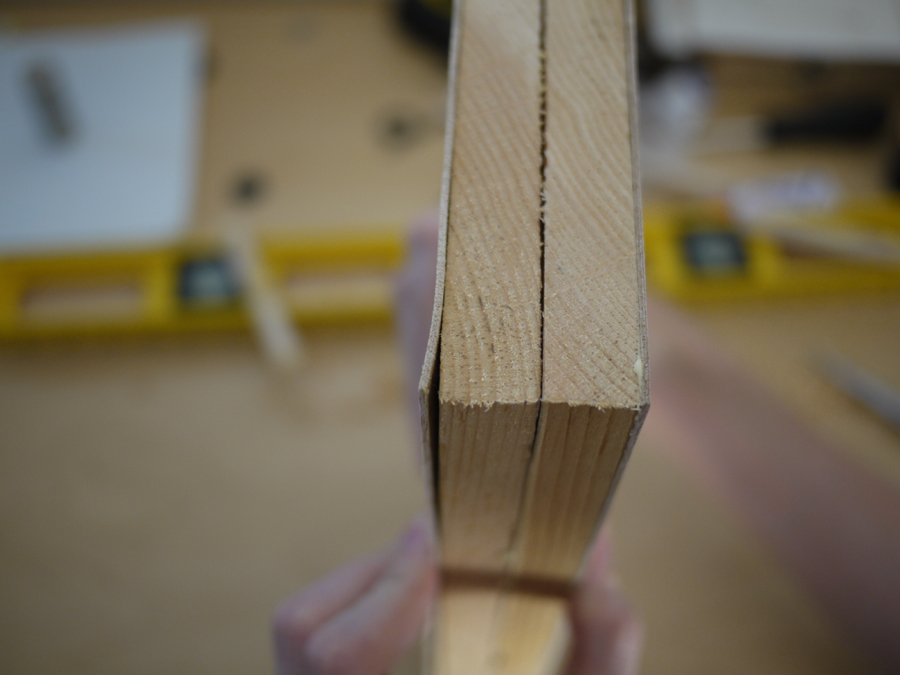
A closeup of how the veneer and plank sandwich should look.
Step 13
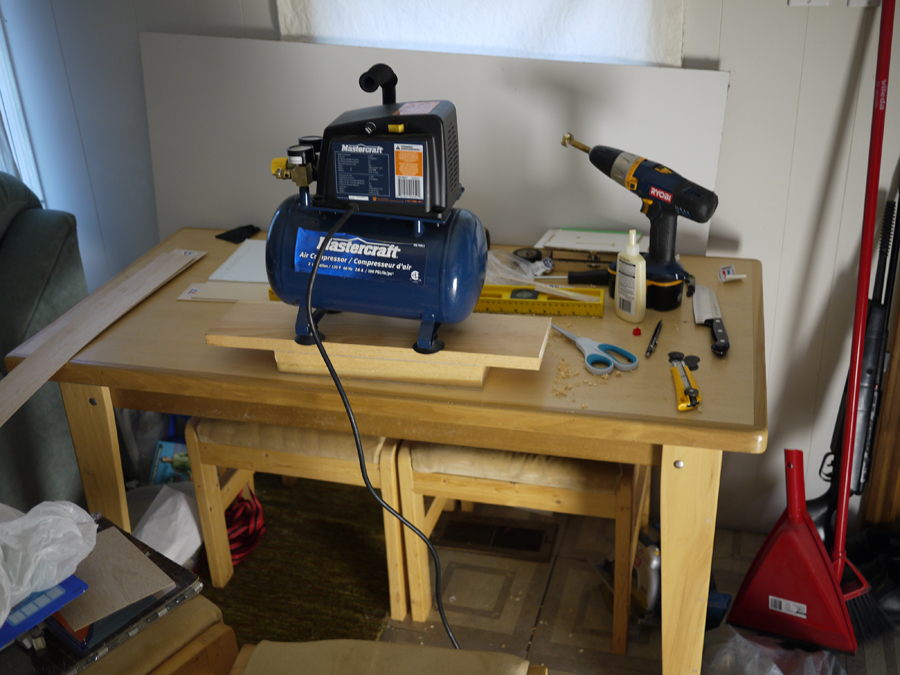
Place a considerable, even pressure on the knife block, preferably overnight, or for however long is recommended.
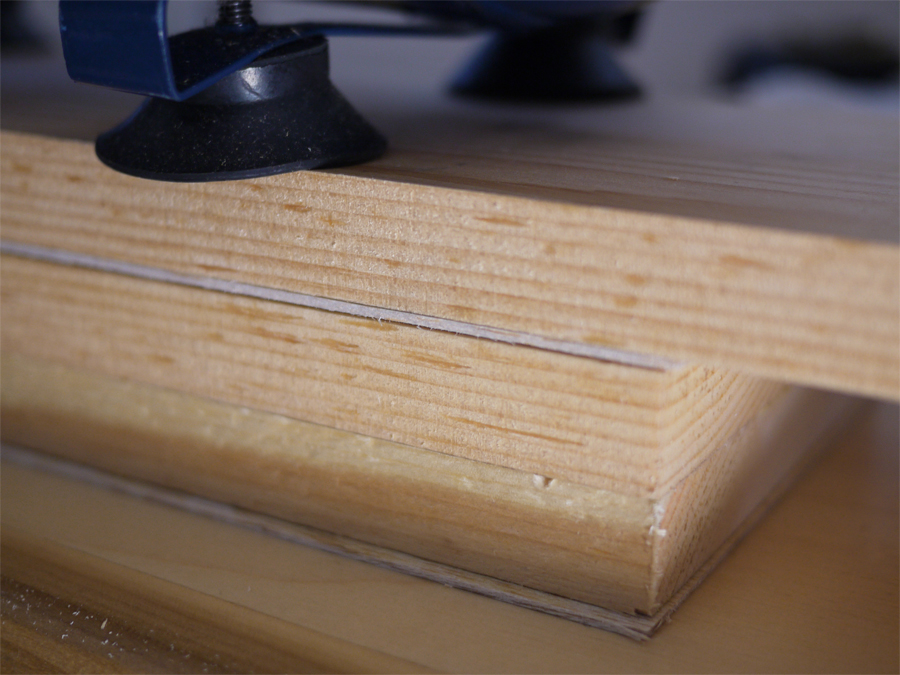
Even pressure is more easily achieved by placing a piece of wood over the whole thing before putting weight on it.
Step 14
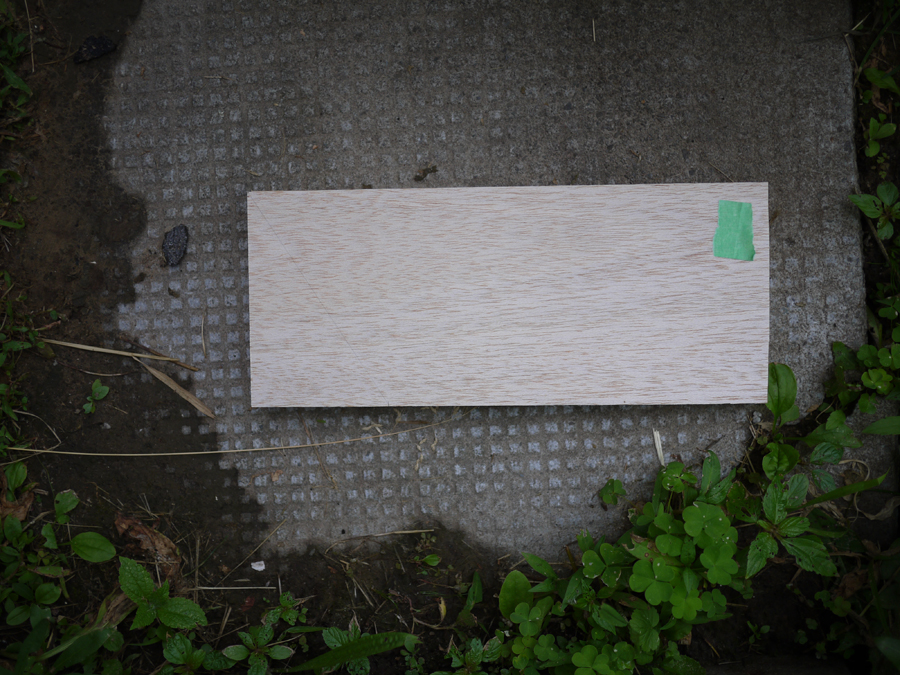
Mark the now-glued block to achieve the desired angle once cut.
Step 15
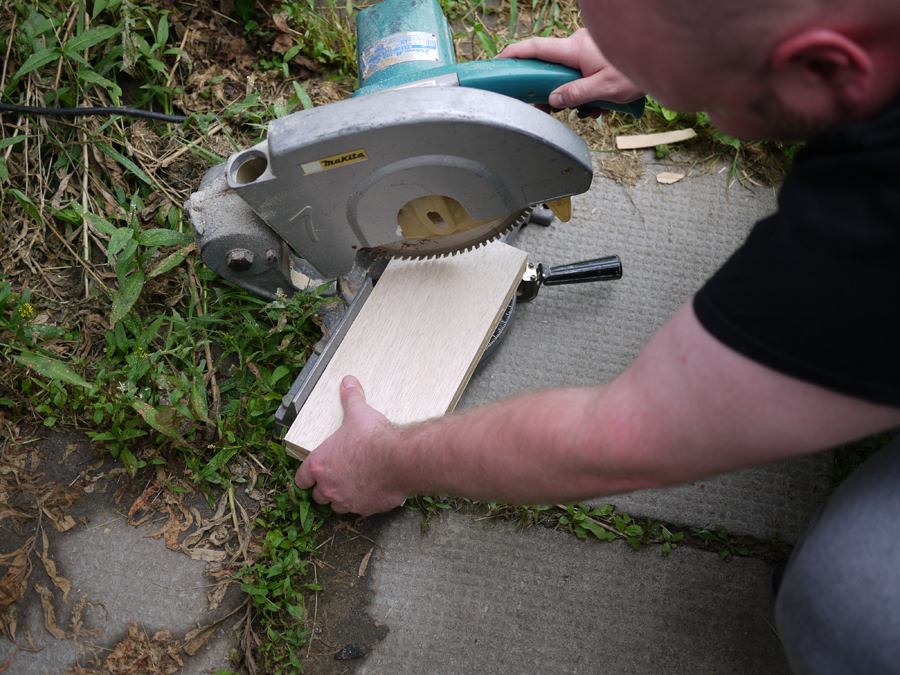
Cut the block along the measured and marked line.
Step 16

There are several different ways the triangular piece cut from the larger block can be arranged for permanent attachment. We went with the more compact version, as we felt the alternate version took up too much space.
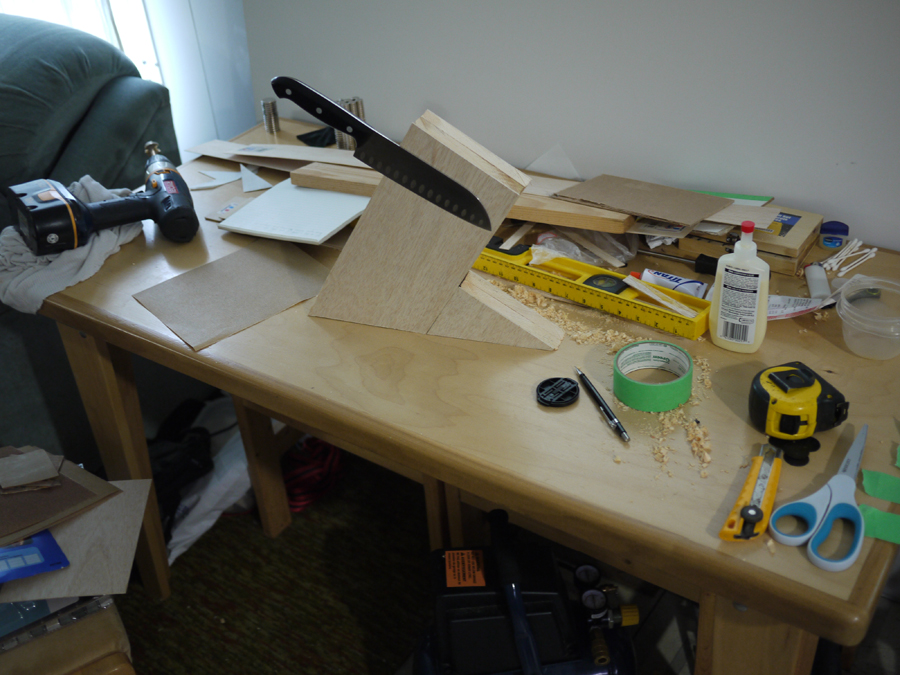
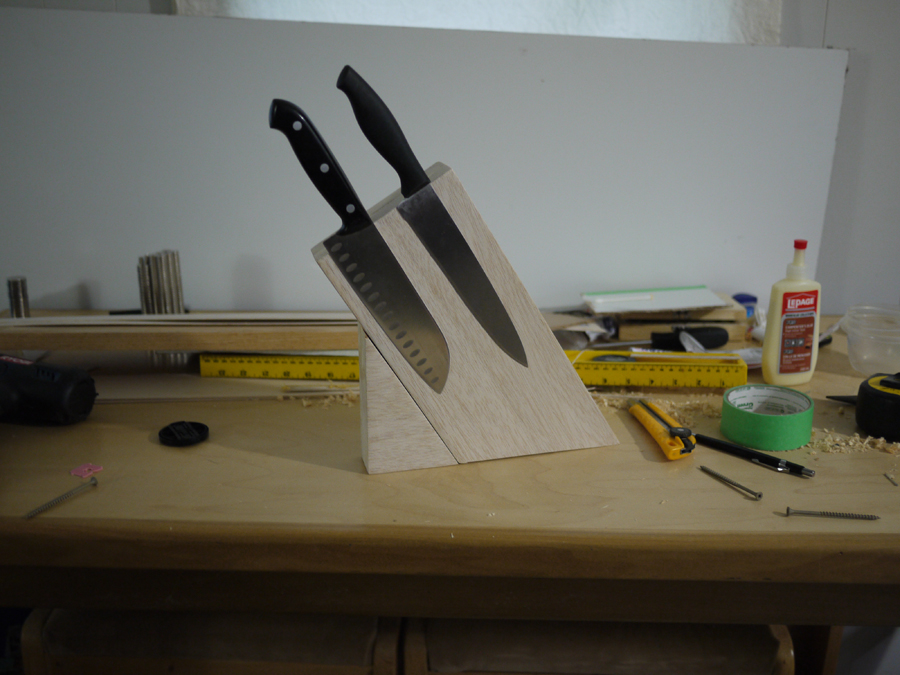
The arrangement we settled on.
Step 17
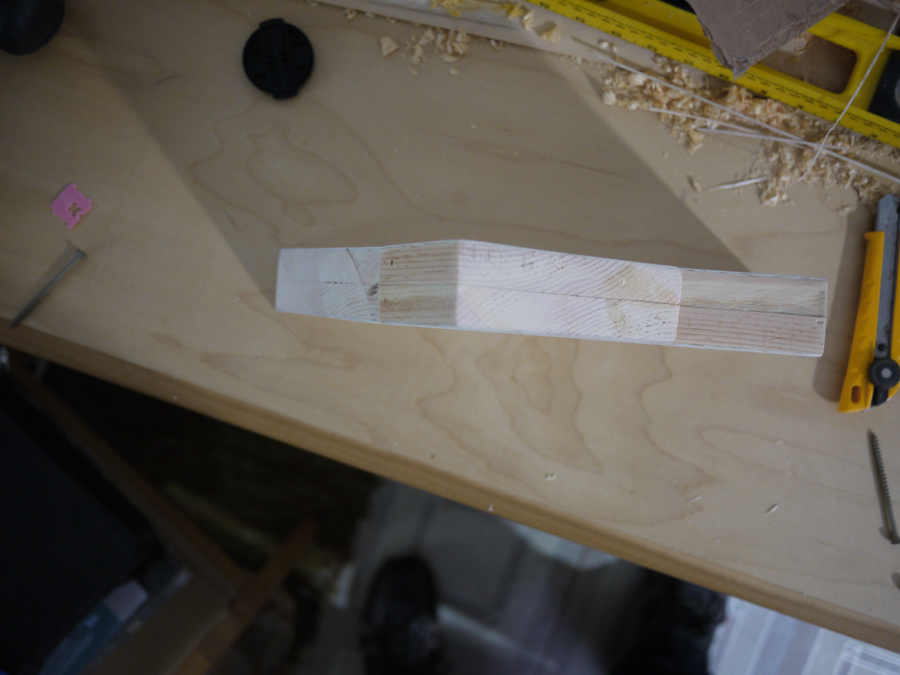
Nail the wedge to the main body and fill with wood filler.
Step 18

Sand and stain the knife block.
Final Notes
There are many alternative ways you could make a knife block of similar construction that will function just as well as this one. The knife block we made, however, ended up being too light for our liking. The magnets were strong enough to require a user to hold the base of the block to be able to retrieve a knife. If we were to do this project again, we would either make the block heavier by making it out of a denser wood, or by making it using more wood; or we would use smaller magnets than the two 1″ magnets used for each knife.
