Welcome to Orders of Magnetude
Knife Bar tutorial
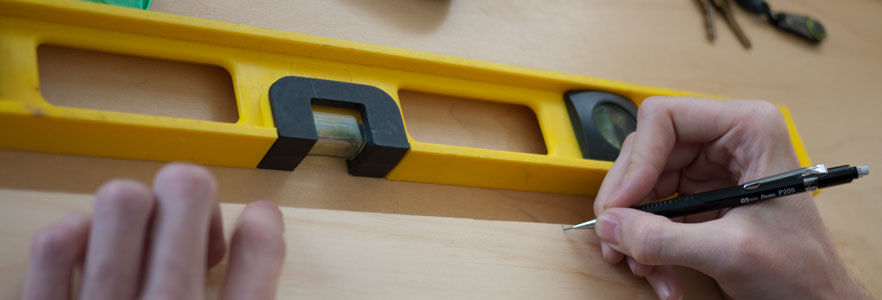
The magnetic knife bar design revealed in this tutorial can be changed to suit your countertop and knife dimensions as well as the number of knives you want to hold and how closely you would like to space them. As with many projects, the closer the magnet is to the steel object being suspended, the smaller the number of magnets that will be necessary to suspend the same weight. If drilling a hole completely through the wood and securing a veneer is a task suitable to your skill level, this is the best option for limiting the number of magnets needed.
Materials Needed
- Drill
- Wood – Approximately 3″ x 8″ x 1″
- Wood Glue
- Wood Stain (your colour choice)
- Wood screws or permanent mounting tape
- Forstner bit – 1″ or the size of your magnets
- Measuring tape
- Straightedge
- Pencil
- Magnets – Between three and nine 1″ x 1/8″ disc magnets depending on
- Safty Goggles
Step 1
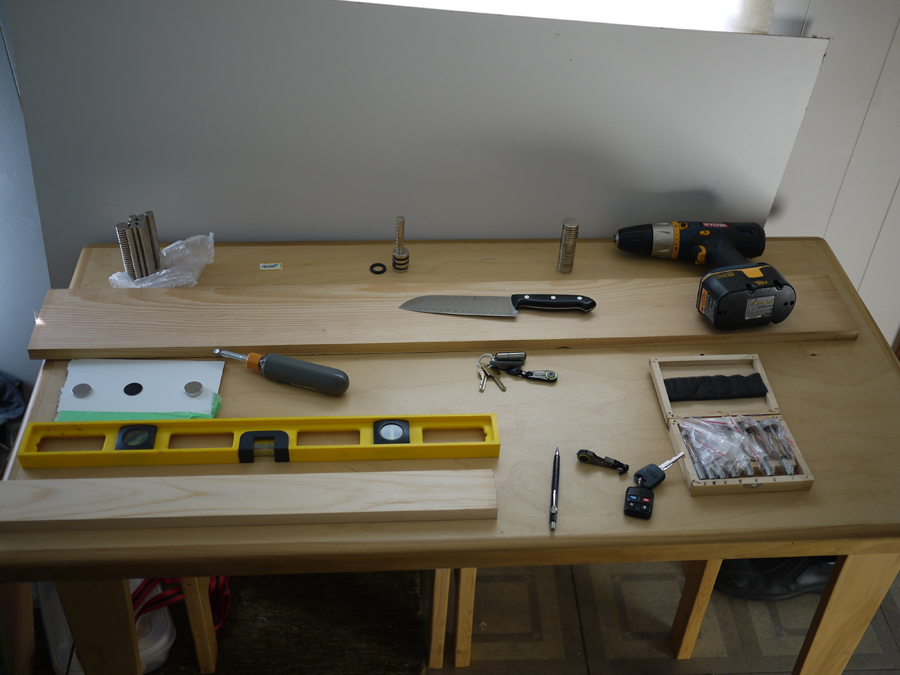
Find a workstation and assemble your tools and materials.
Step 2
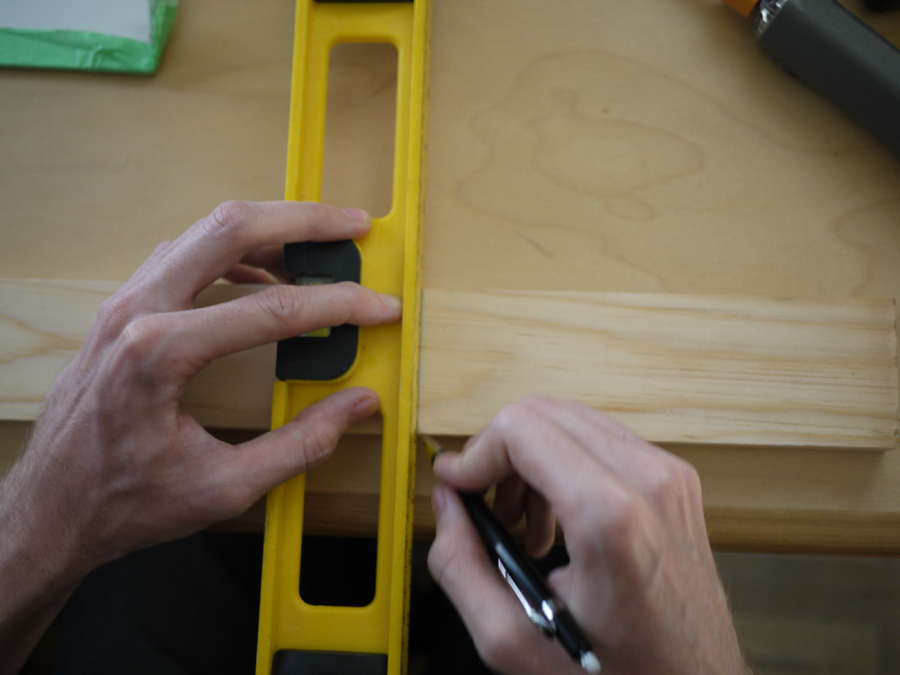
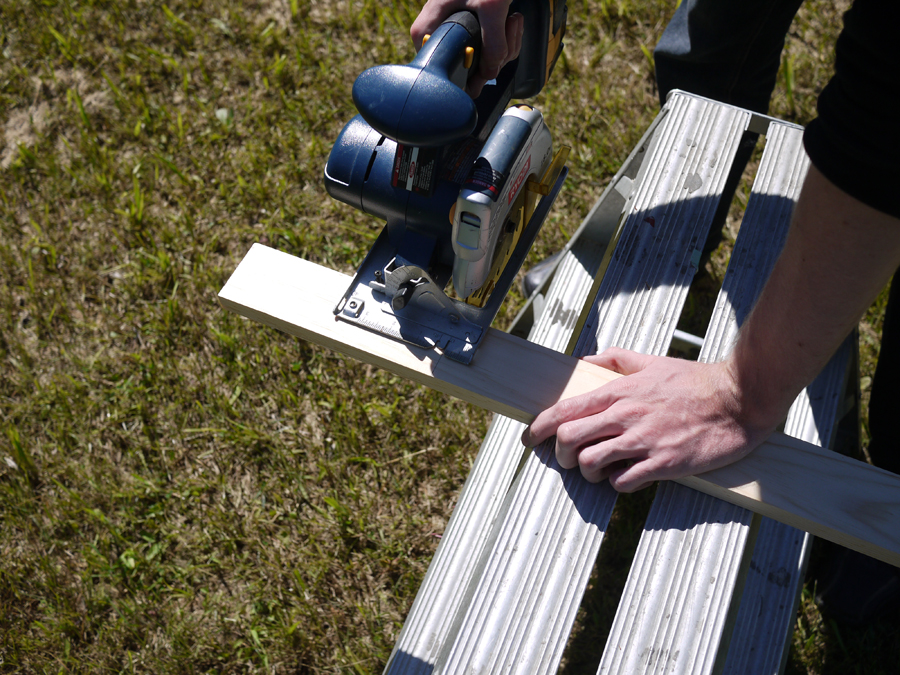
Measure the wood and cut it to the desired dimensions.
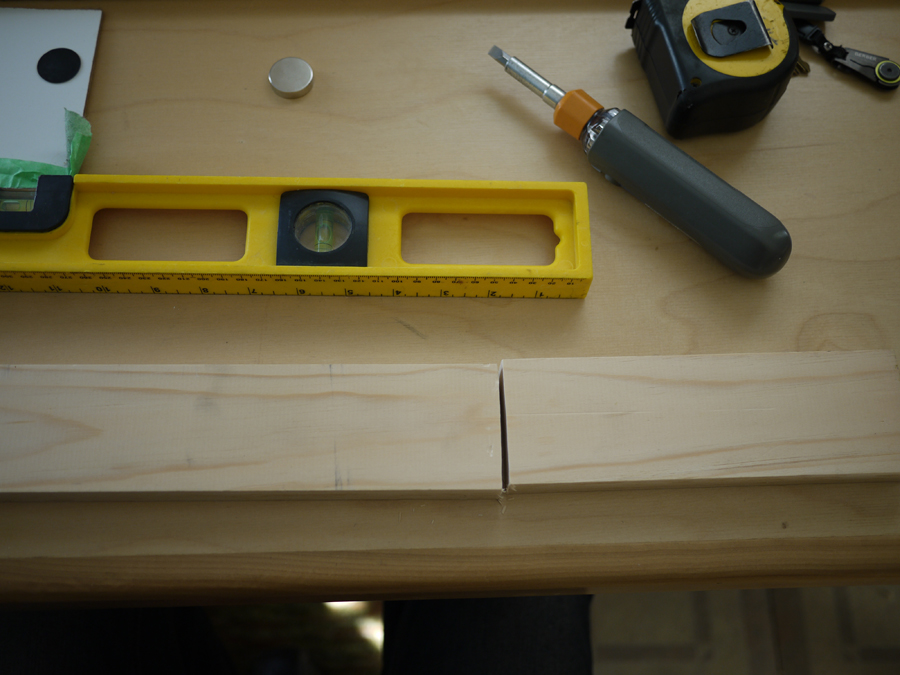
Step 3
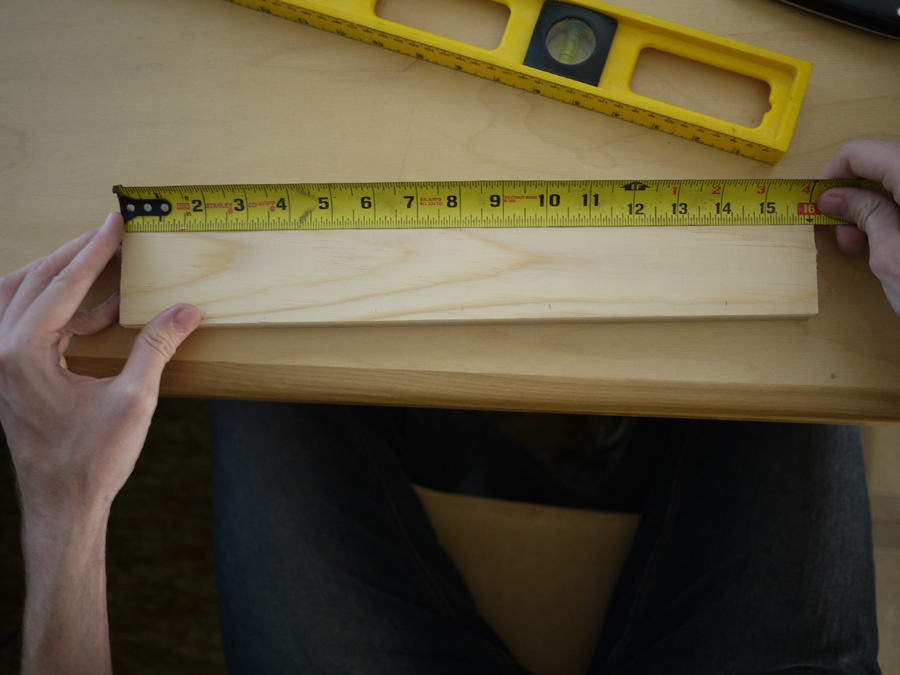
Determine the ideal spacing of the knives you wish to use with the bar. Measure and mark where the magnets will be placed.
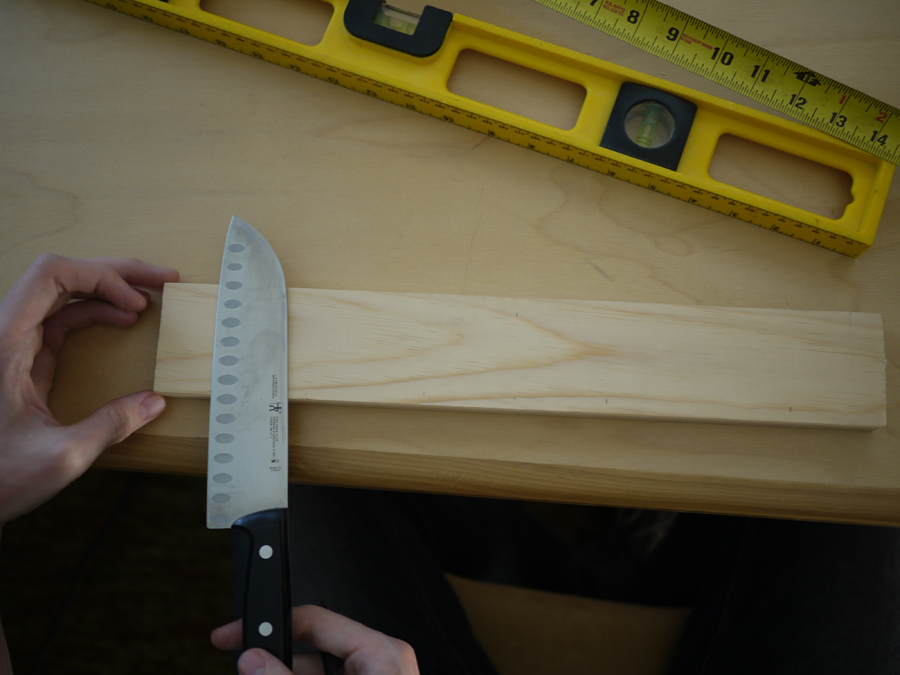
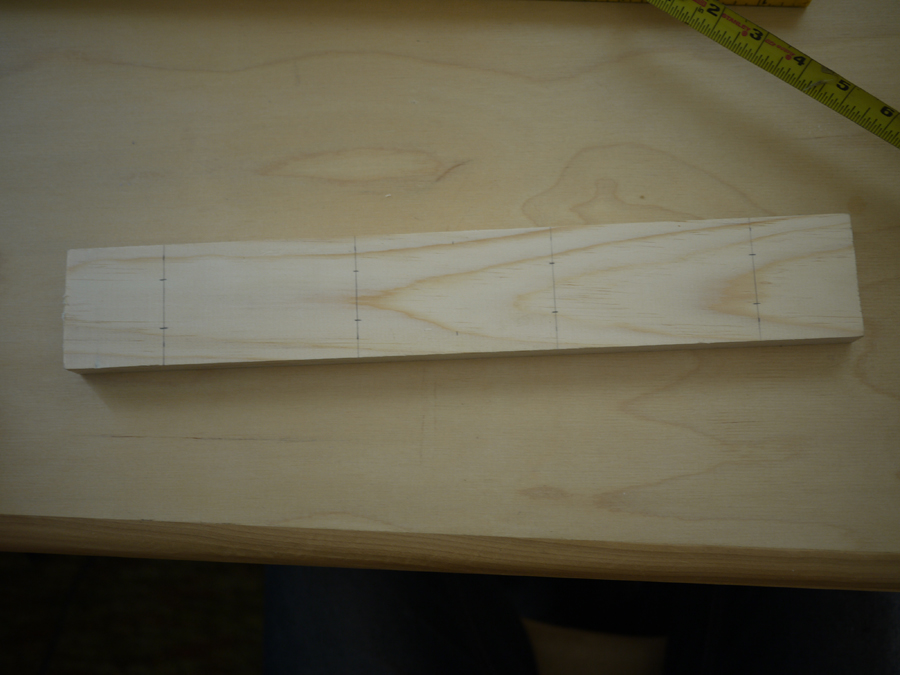
Step 4
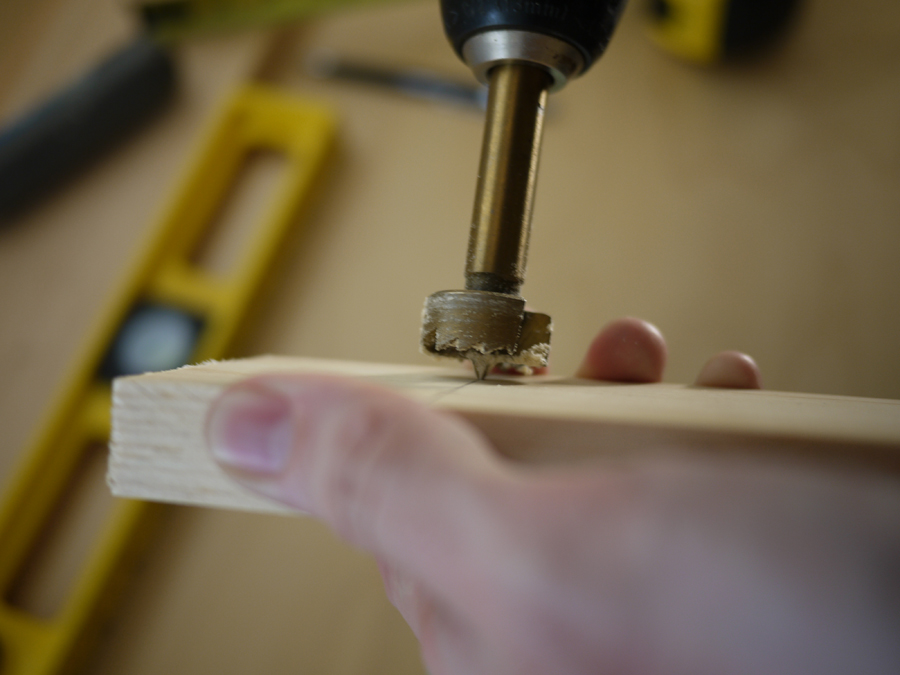
Drill the holes using a forstner bit, or with any drill bit if you plan on using a veneer to cover the holes.
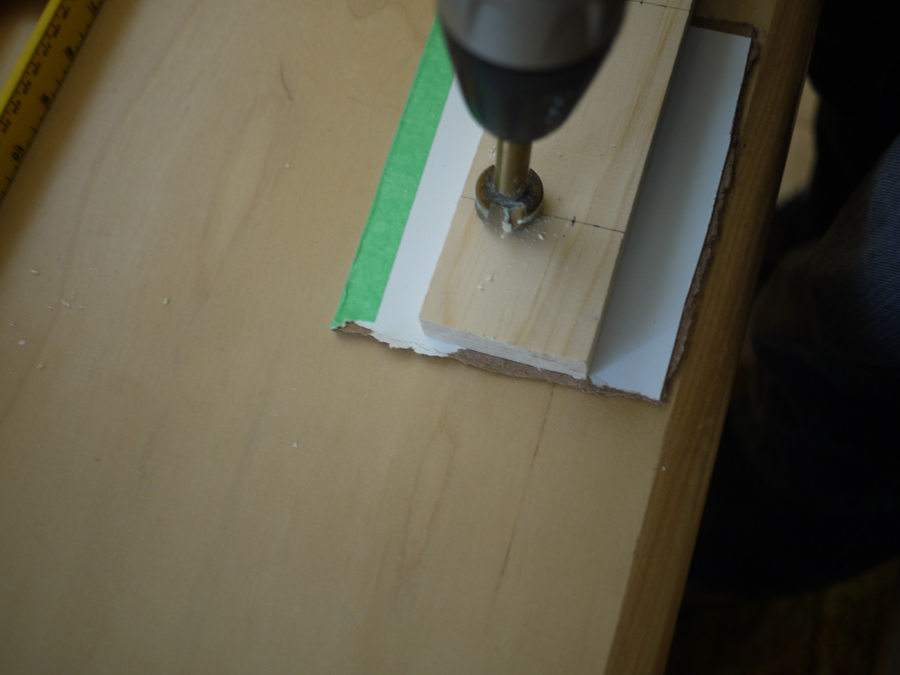
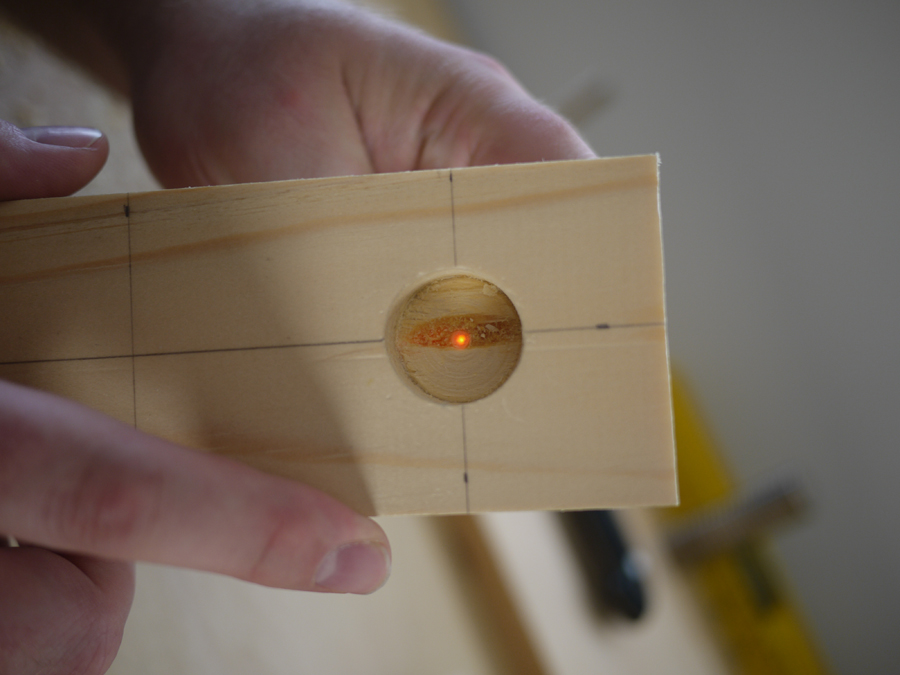
Make sure to drill as deep as possible without going all the way through.
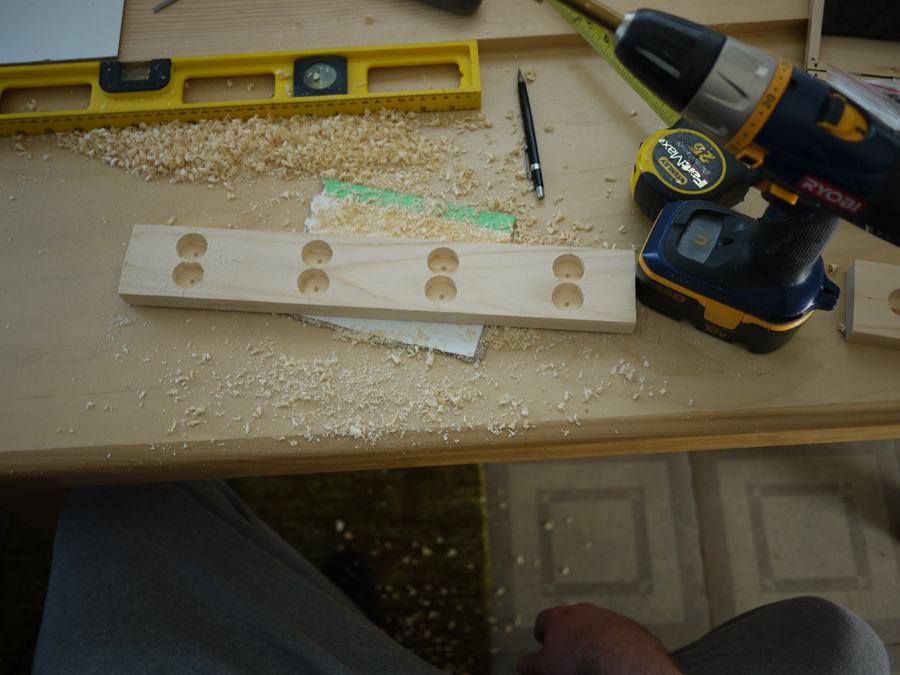
The block drilled and ready for magnet gluing and staining.
Step 5
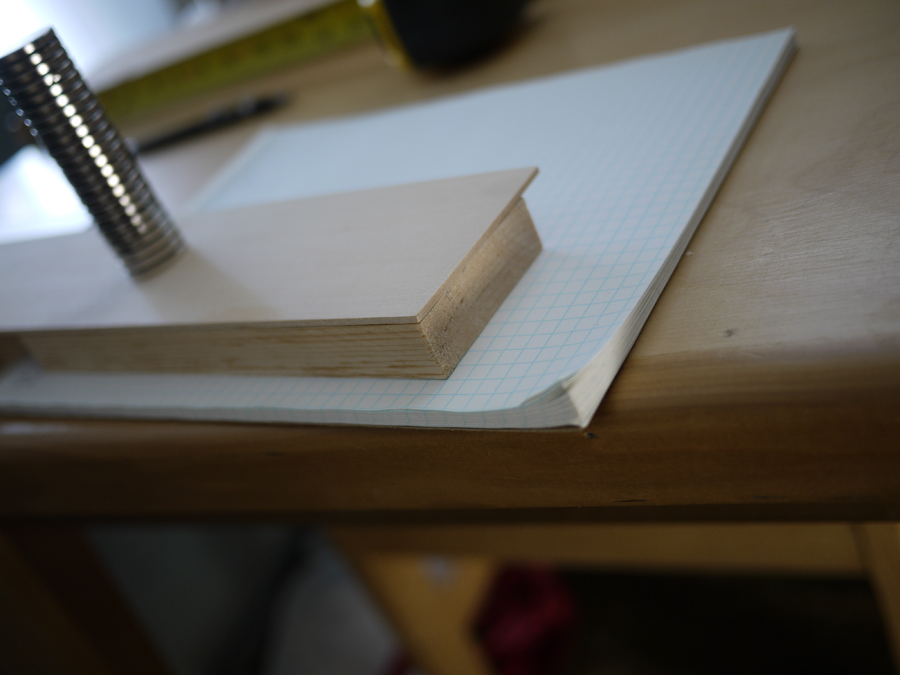
If you are going to us a veneer to get the magnets as close as possible to the knives on the other side of the wood, thereby increasing the usefulness of each magnet, this is a part of the process. Trace the veneer using the block of wood as a guide, cut out the veneer and glue the veneer to the wood before sanding and staining.
Step 6
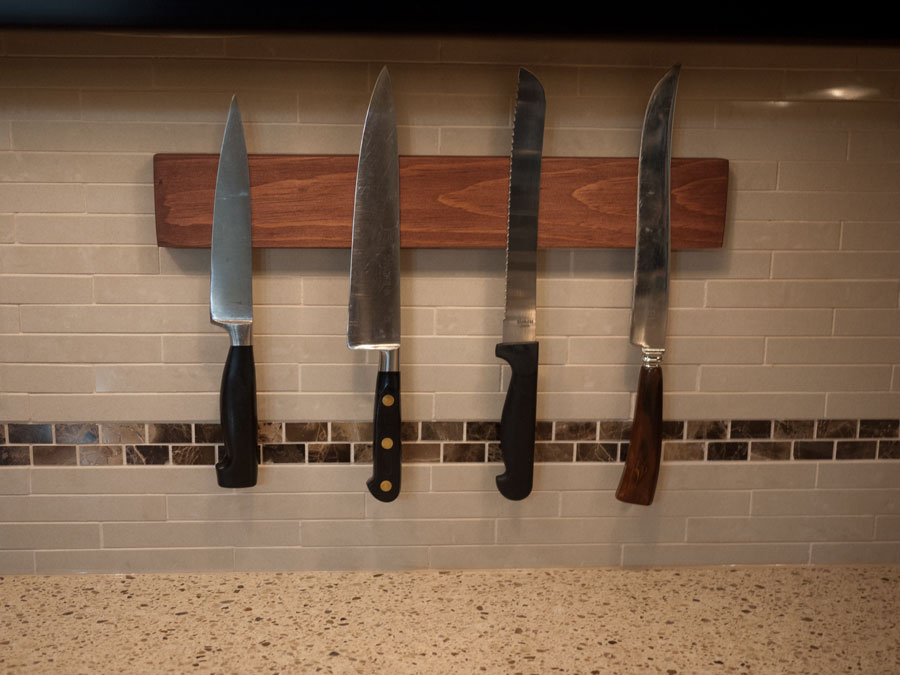
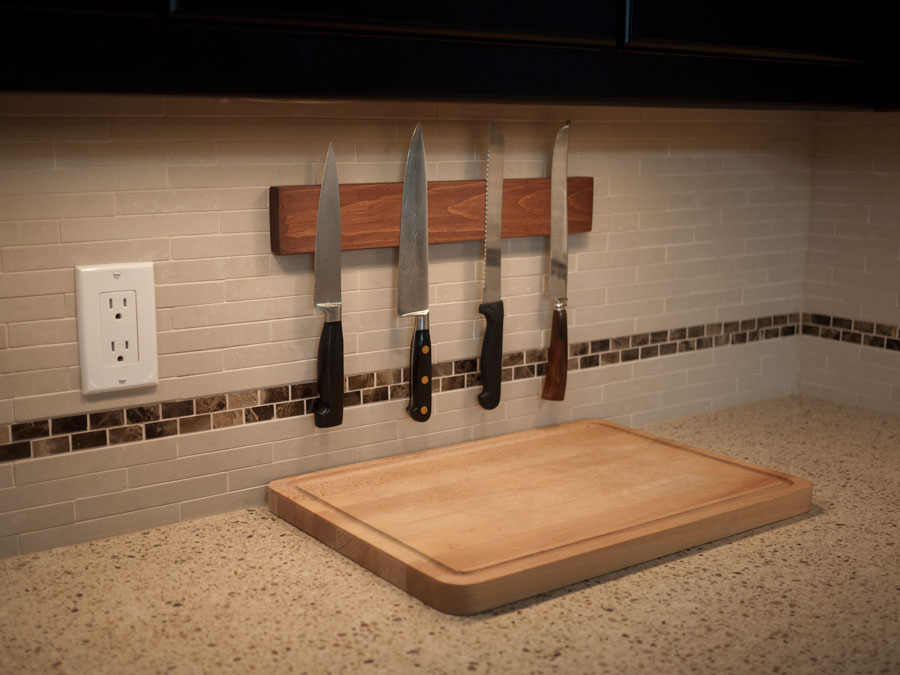
After sanding and staining, the knife bar can be mounted however you like. This bar was mounted using double-sided mounting tape. Screws, adhesive caulking, and other glues can also be used.
Final Notes
In our experience, the knives were well secured using two 1″ diameter magnets each. If it is your intention to use only one magnet per knife, it can be done, but it will likely require the use of a veneer. Another thing to note is that we found that the problem of securing knives in this way was not hindered mainly by the strength of the magnets, but by the amount of friction between the knives and the wood. So, the larger the surface area exposed to magnets the better.
